
How to Install Paver Stone Patio
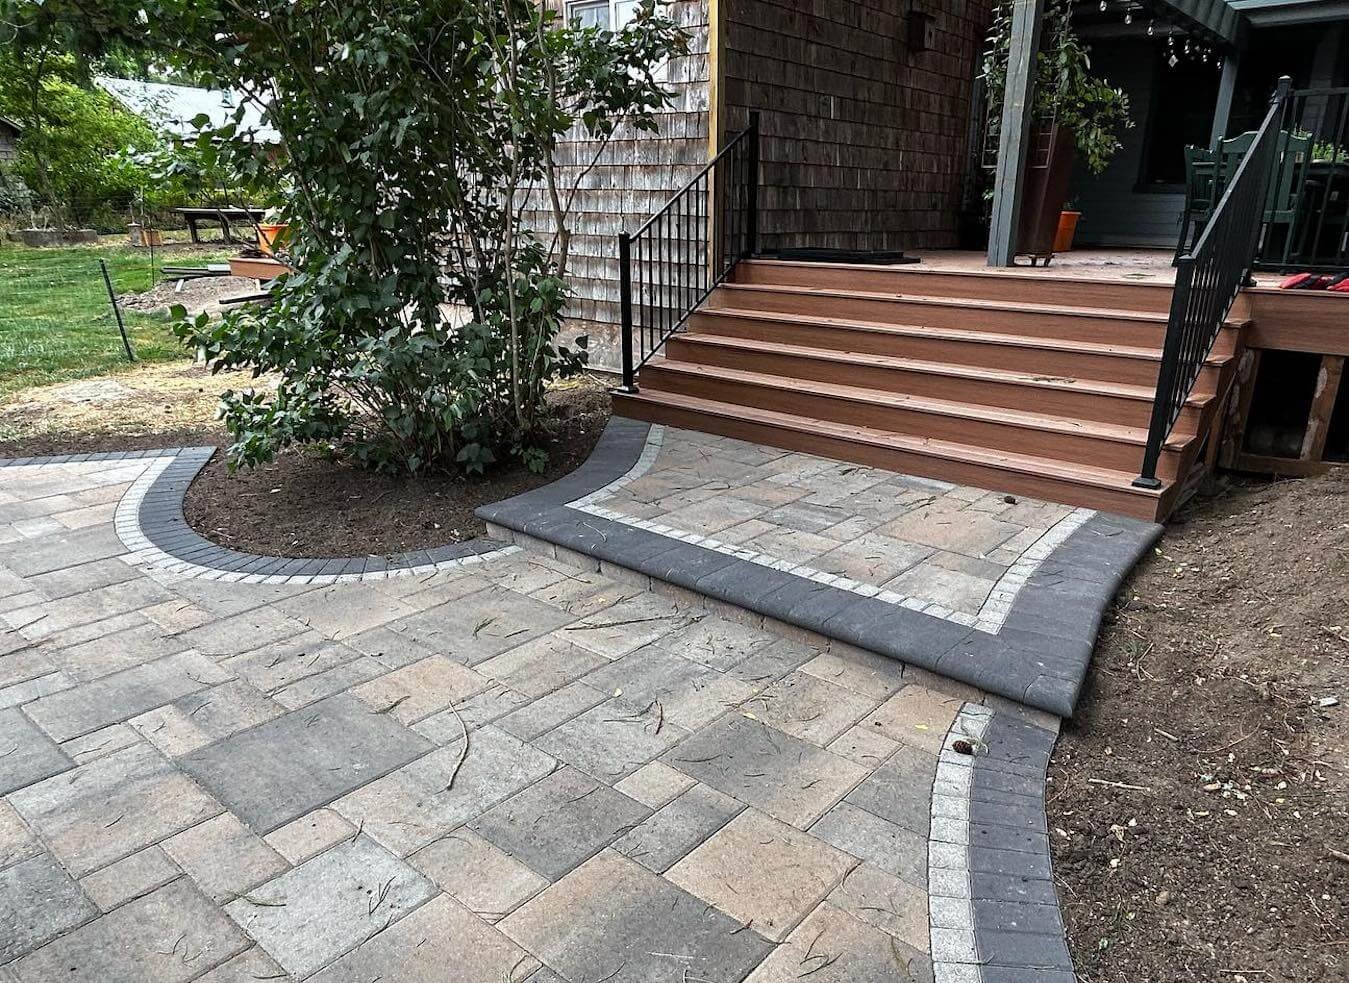
Placing patio pavers will change the appearance of your outside areas. Pavers—which come in stone, travertine, or brick—are low-maintenance, robust. For patios, walks, decks, and other outside areas they are perfect. Learn more here about how to install paver stone patio.
This book will walk you through adding pavers to your yard to produce a lovely and useful addition.
Materials You’ll Need
It typically takes one weekend to install patio pavers. Here’s what you’ll need for your project:
- Paver base: 6-inch layer
- Paver sand: 1-inch layer
- DIY patio pavers
Pro Tip: Find your project’s square footage with a measuring tape. This will assist you in figuring the required paver sand and foundation as well as the pavers count. For a 60-square-foot area of 12-inch by 12-inch pavers, for instance, you will need roughly 60 paver stones.
About 4 inches of gravel will be needed for the paver base, equal 1/3 of a cubic yard for 100 square feet. Should your intended space be 60 square feet, you will need roughly 20 cubic feet—or three-fourth of a cubic yard. You also need one inch of paver leveling sand, about one-third the volume of the gravel.
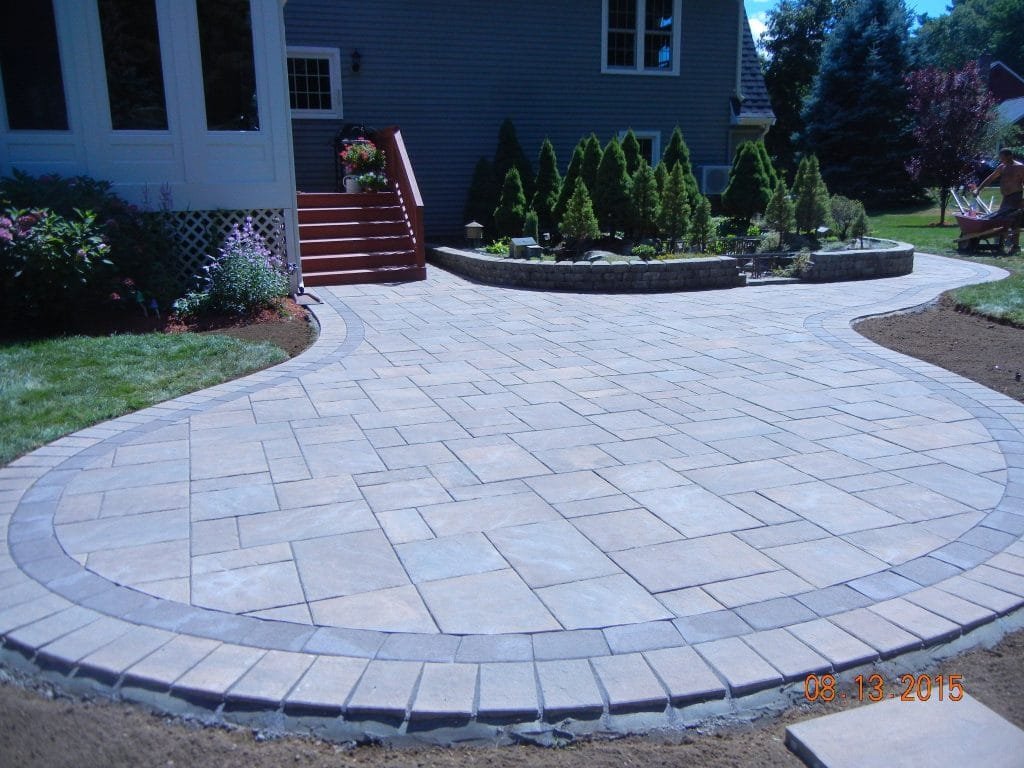
Step 1: Remove Grass and Soil
Mark the Area: Use marking paint to outline the perimeter of your patio. Place garden stakes outside the marked area and attach a mason’s line to guide you.
Ensure Proper Slope: The patio should slope away from the house at a rate of 1 inch per 8 feet for proper drainage. Adjust the mason’s line accordingly.
Dig the Area: Use a spade and shovel to clear grass and soil within the marked area. Check the depth regularly to maintain the correct slope.
Tip: Remember, you’ll be adding about 4 inches of gravel and 1 inch of sand before installing the pavers and always follow the guide on how to install paver stone patio.
Step 2: Add the Paver Base
Distribute the paver base fairly throughout the area with a landscaping rake. Compress the gravel till it creates a strong foundation with a tamper or plate compactor.
Moisten the Base: Lightly spray the base with a garden hose to help it settle before compacting again.
Step 3: Add and Level Paver Sand
Lay Conduits: Place two lengths of electrical conduit on top of the paver base to act as guides for leveling the sand.
Level the Sand: Drag a 2-by-4 board along the conduits to smooth the sand. Use a level to ensure accuracy.
Fill Gaps: Remove the conduits and fill the gaps with sand, leveling the area as needed.
Caution: Avoid stepping on leveled sand. If you do, re-level the area before moving forward.
Step 4: Lay the Pavers
Start at a Corner: Begin placing pavers at a corner of the patio, working outward in a triangular shape.
Set Pavers Firmly: Place each paver straight down into the sand without dragging or stomping. Continue until all pavers are in place.
Step 5: Cut Pavers
Track the intended cut line on the paver using a straightedge and marker.
Cut with a masonry saw for more exact cuts. Cut always wearing gloves and safety goggles.
Step 6: Add Edging
Edging stones or paver edging should be installed along the patio’s perimeter.
Fix the edge. Stake plastic paver edging into the ground or use cement or mortar for edging stones.
Step 7: Finish the Patio
Spread Paver Sand: Apply a thin layer of paver sand over the patio surface. Compact the Surface: Run a plate compactor over the patio to settle the sand between the pavers. Final Sanding: Sweep another thin layer of sand over the patio and compact it one last time.
Conclusion
Installing pavers is a manageable DIY project once you understand the steps. Start by measuring your space and calculating the materials needed. Then, remove the grass and soil, install the paver base and sand, and lay your pavers. With proper preparation and effort, you can create a stunning, durable outdoor space that will last for years.
Contact Us and Let's Start Together!
Reliable Hardscapes can transform your outdoor space into an attractive and functional setting. They are the best hardscape contractors in your area because of their expertise, comprehensive services, commitment to excellence, and excellent client service. Reliable Hardscapes will complete your project with professionalism and care, turning your backyard into a beautiful masterpiece. Contact us today!